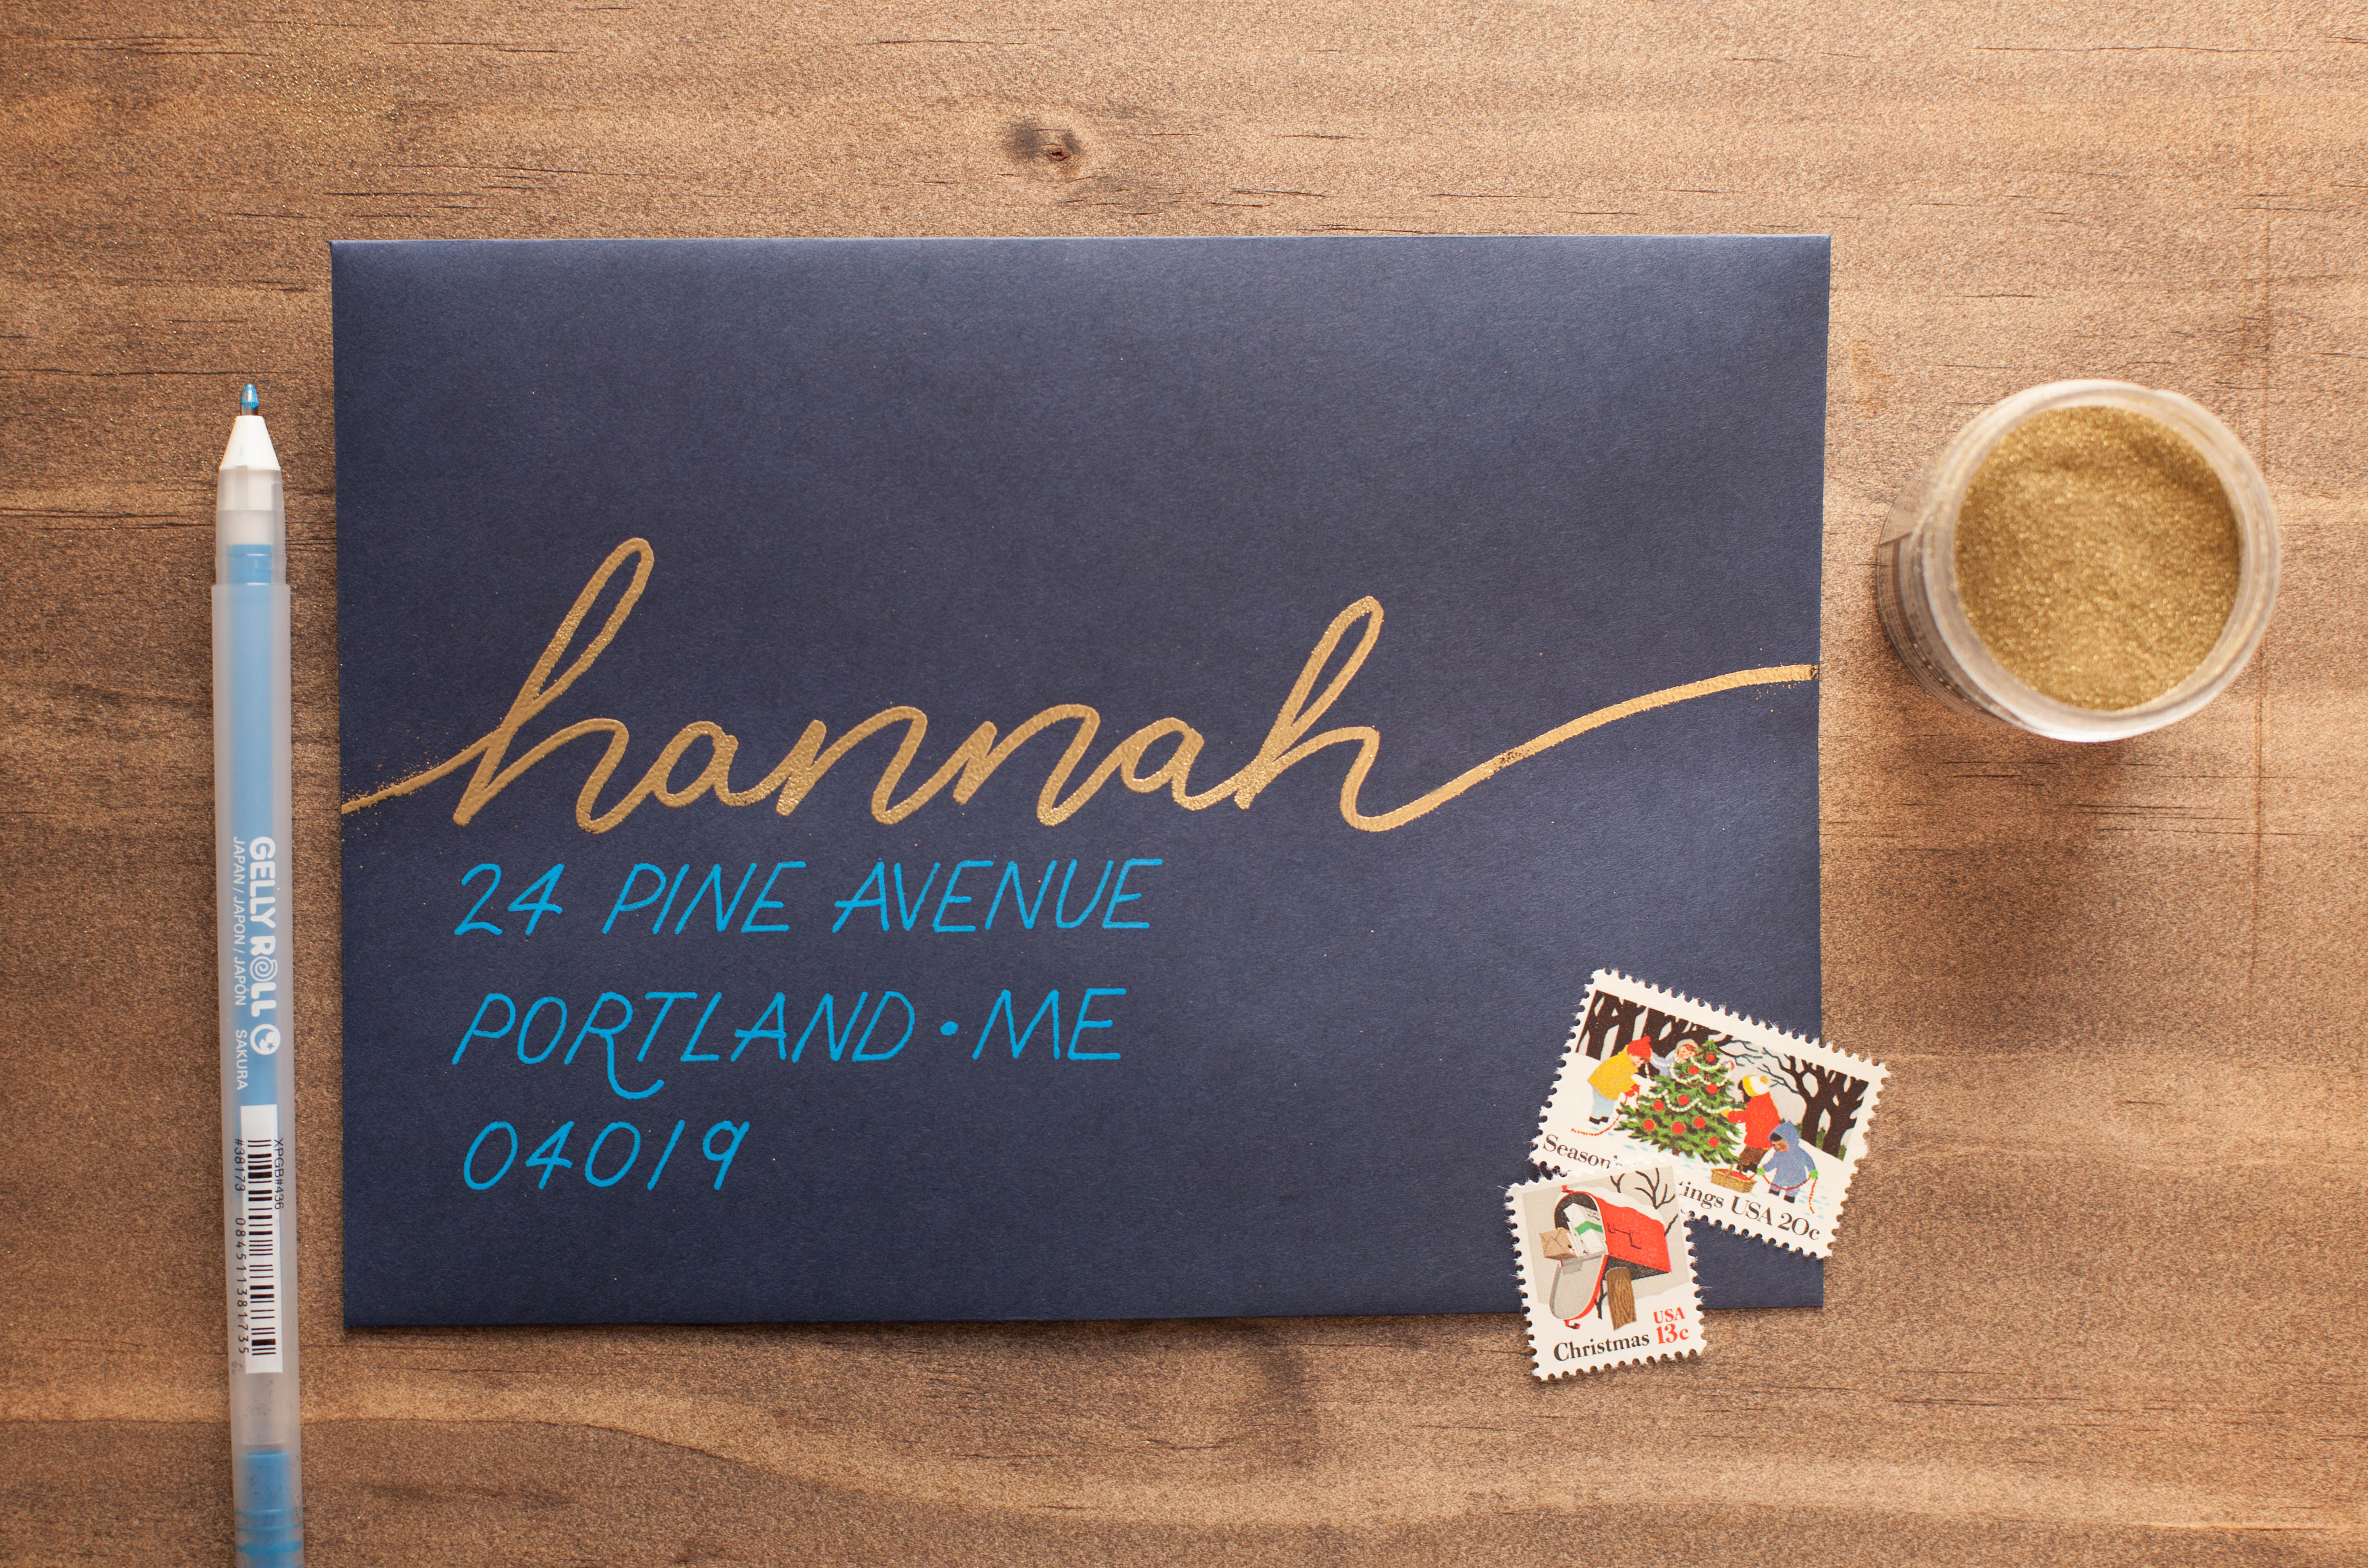
Bells are jingling, fires are crackling and you are getting ready to send your Christmas cards out to family and friends! This year I’ve got the perfect way fancy-up your envelopes, and keep your handwriting extra straight with this handy Embossing tutorial.
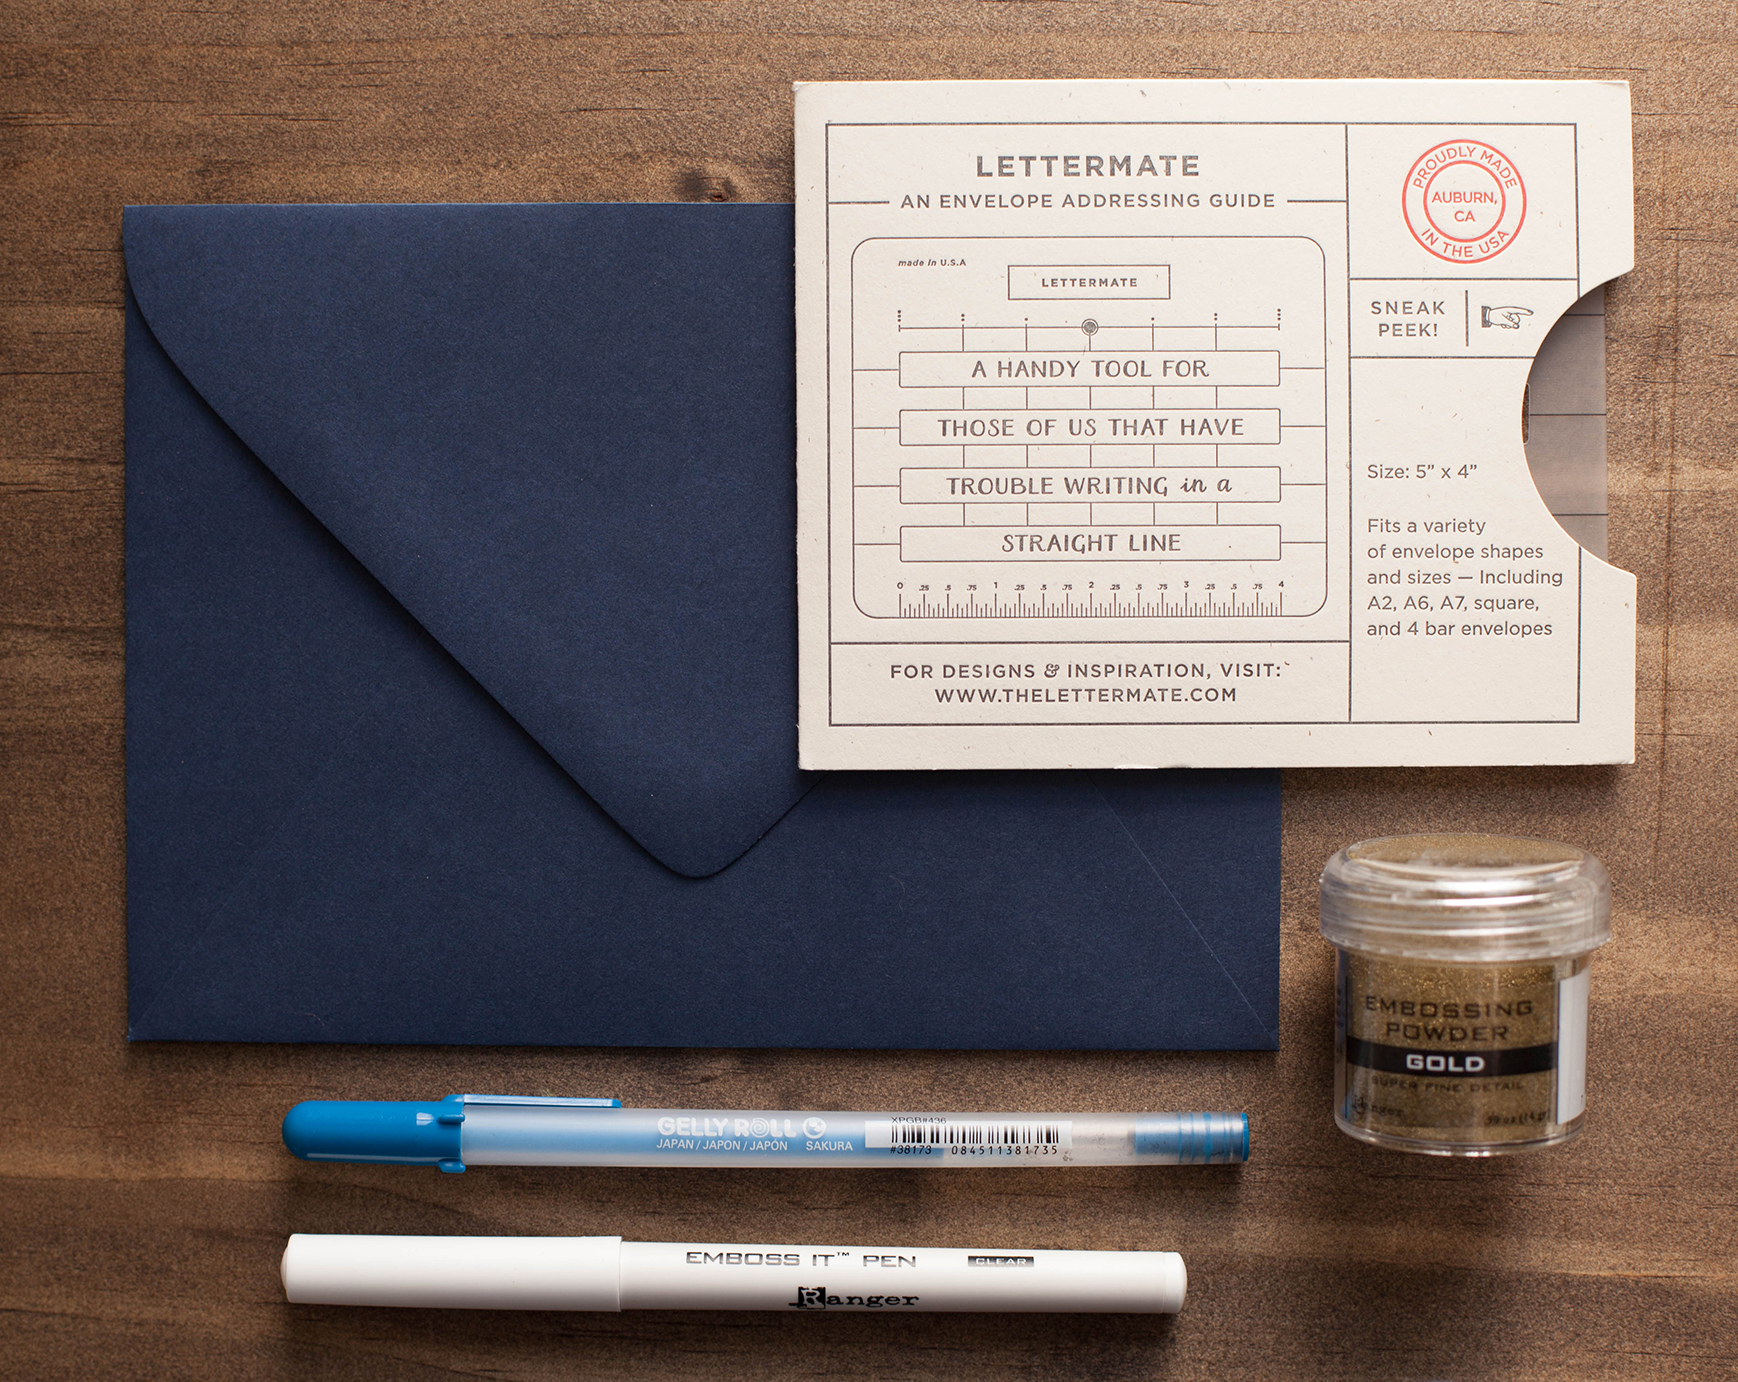
Supplies:
A Lettermate
Embossing Powder
Embossing Pens
Your favorite Pen (I love these jelly roll pens for dark paper)
A Heat Tool
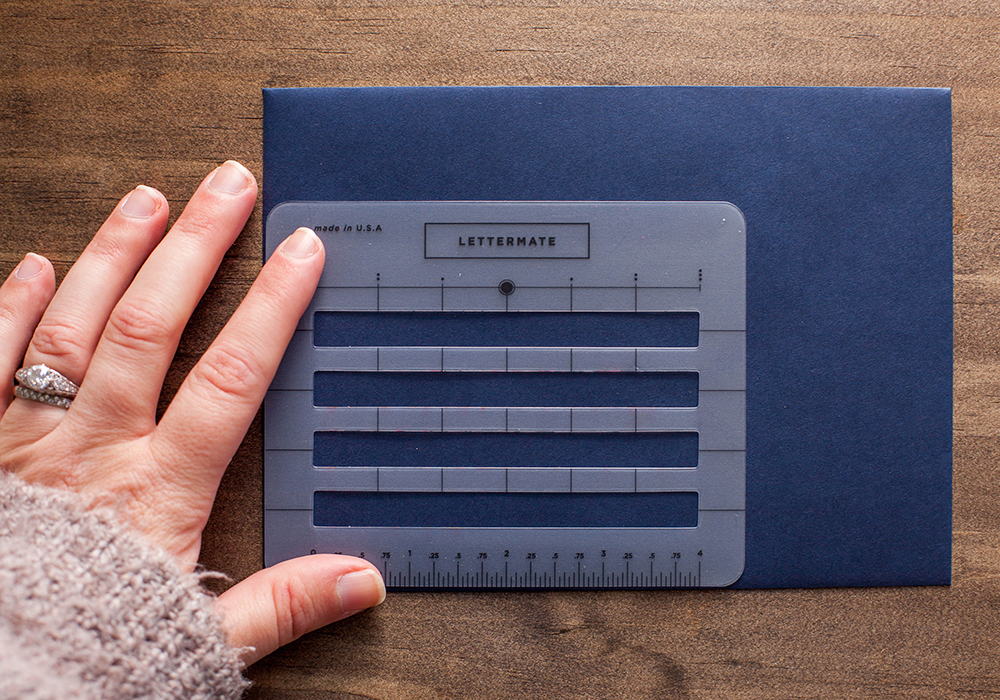
First thing is first, decide where your want your address on your envelope. You can center it, put it all the way on the left, make it on an angle, really anything your heart desires! I decided to left align this envelope. Take out your handy lettermate and align it with your envelope to get it nice and straight.

Then simply start writing the address between the open windows of the lettermate. You can use the handy dandy lines to help space out your lettering, or to help center your lettering.
PRO TIP: If you want to fully center your addresses, start writing your address from the middle out. If the address is 20 SOUTH STREET Start with the “h” in south in the middle of the lettermate and work your way out left and right one letter at a time.


Once the ink is fully dry from your address lettering, grab your embossing pen and letter in the name. I used the clear embossing pen on this dark envelope, and your can still see the ink as it darkens the envelope like water would.

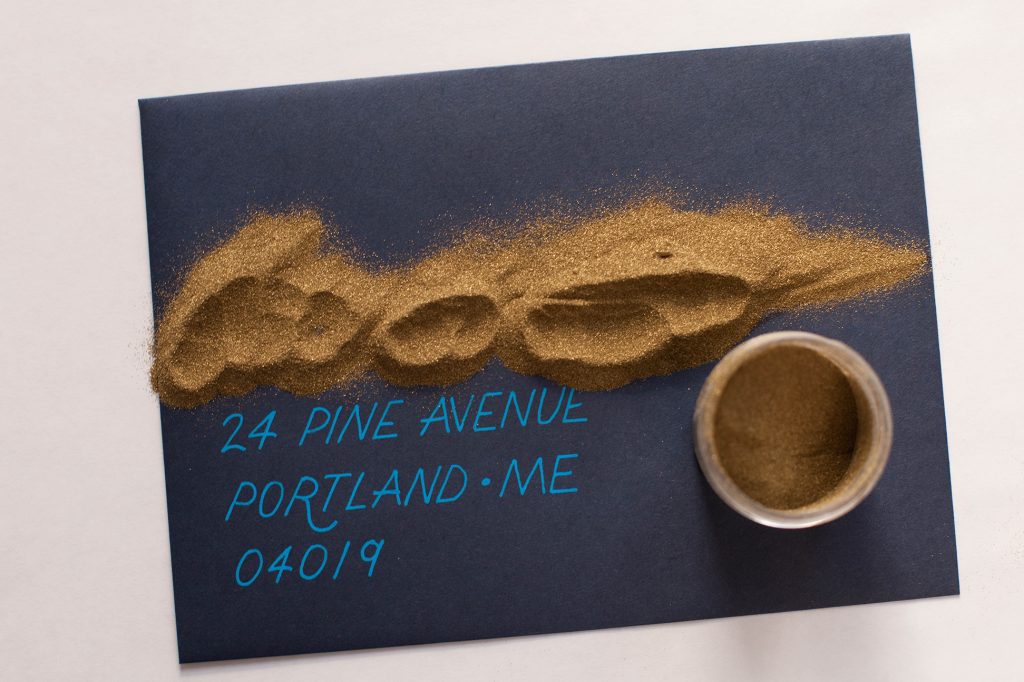
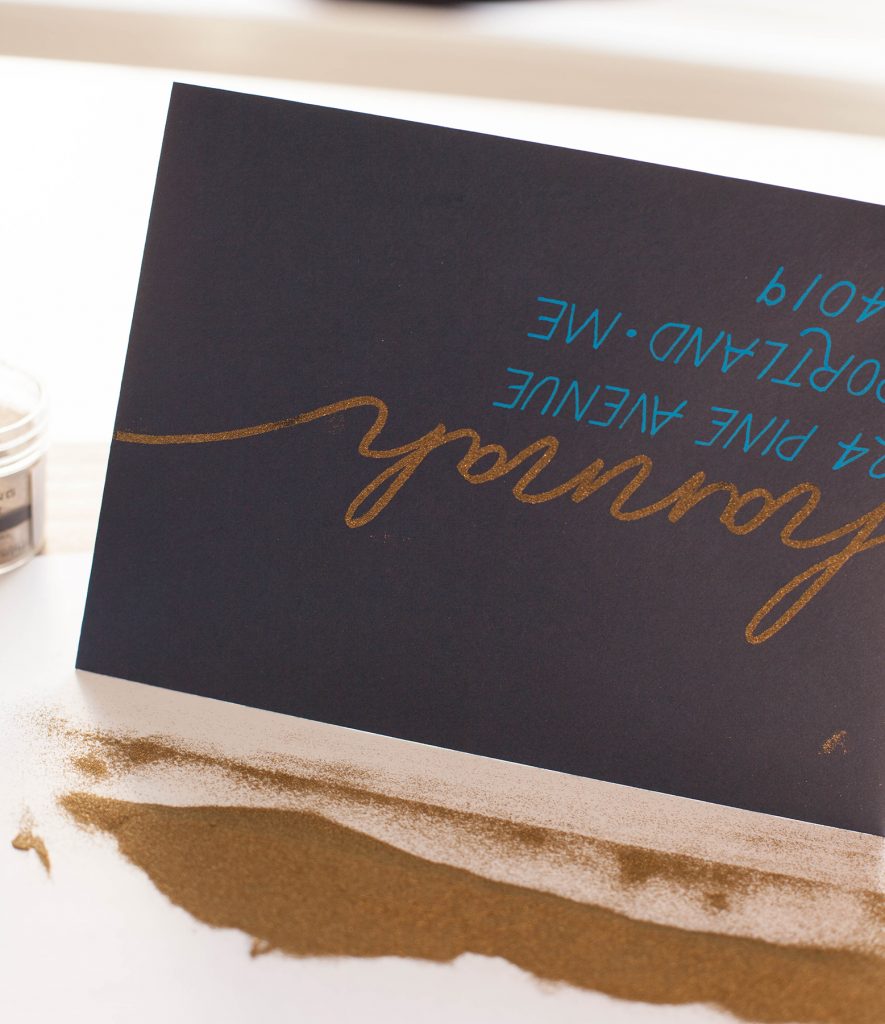
As soon as you are done you want to have your embossing powder handy, because you want to shake it on before your embossing pen ink is dry! Make sure you cover all parts of your lettering that you want to emboss. Don’t worry about using “too much” powder most of it will go back in your tub.
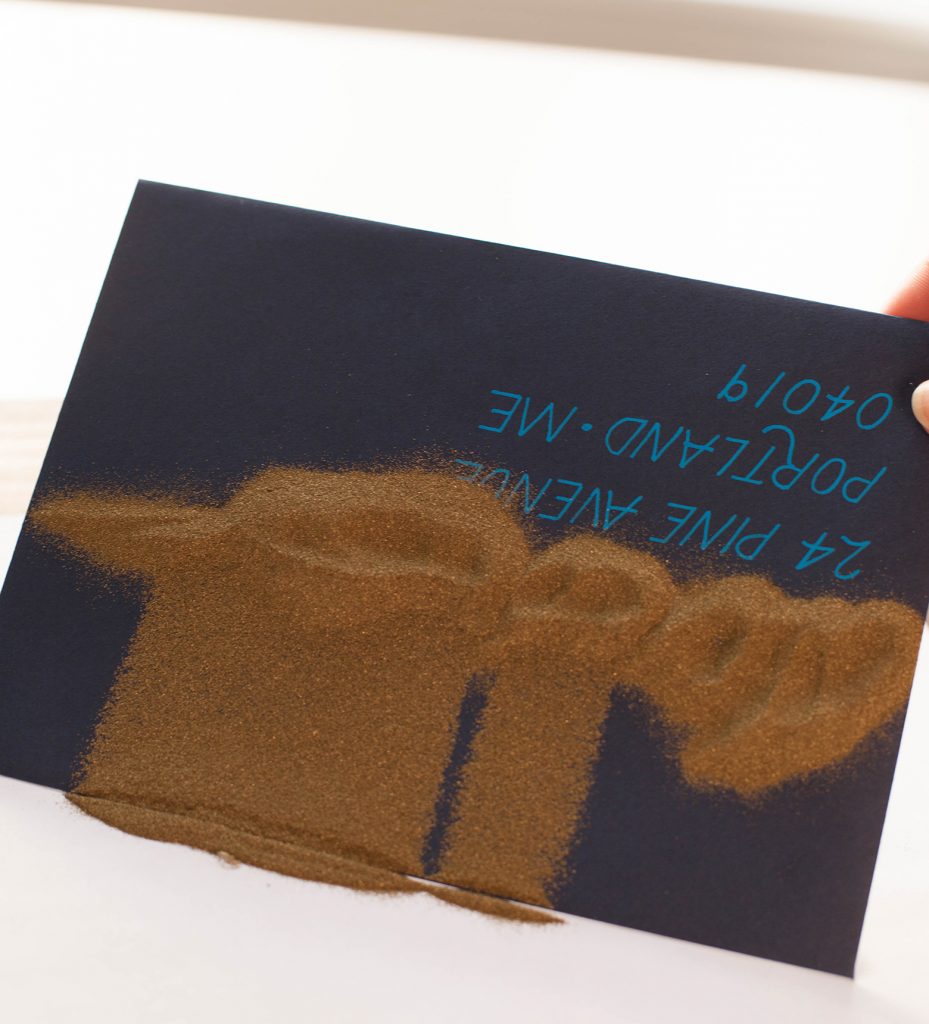
Gently lift your envelope and tap off the extra embossing powder onto a scrap paper, so you can easily transfer the extra powder back into the tub.
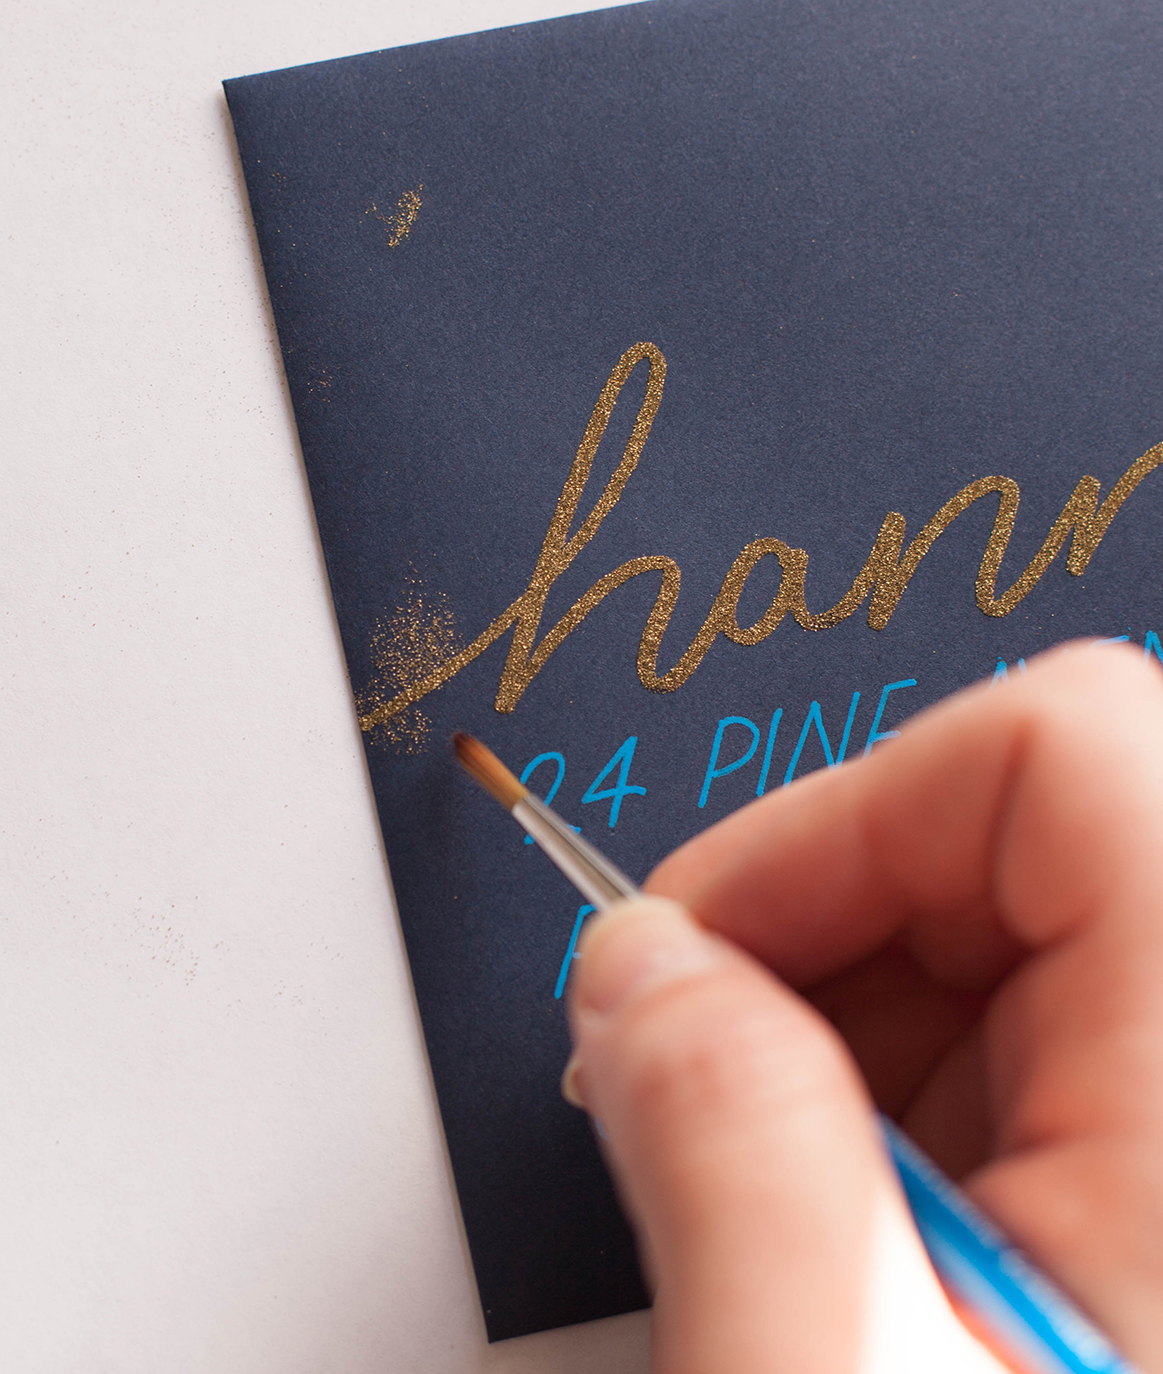
If you have any areas of embossing powder, that you don’t want, you can lightly blow on the area, or use a small paintbrush to brush it off.
Now comes the fun part. Get out your heat tool and fire it up. Slowly wave it in front of your envelope and watch the magic happen. You will see a color shift as your powder hardens and turns super shiny!
PRO TIP: You may want to slowly warm up your paper to prevent warping and keep it at a little further from your paper and then when the paper feels sufficiently warmed, move the heat tool in close enough to melt the powder. You also can put your envelope under a heavy book once it is cooled if you have any warping.
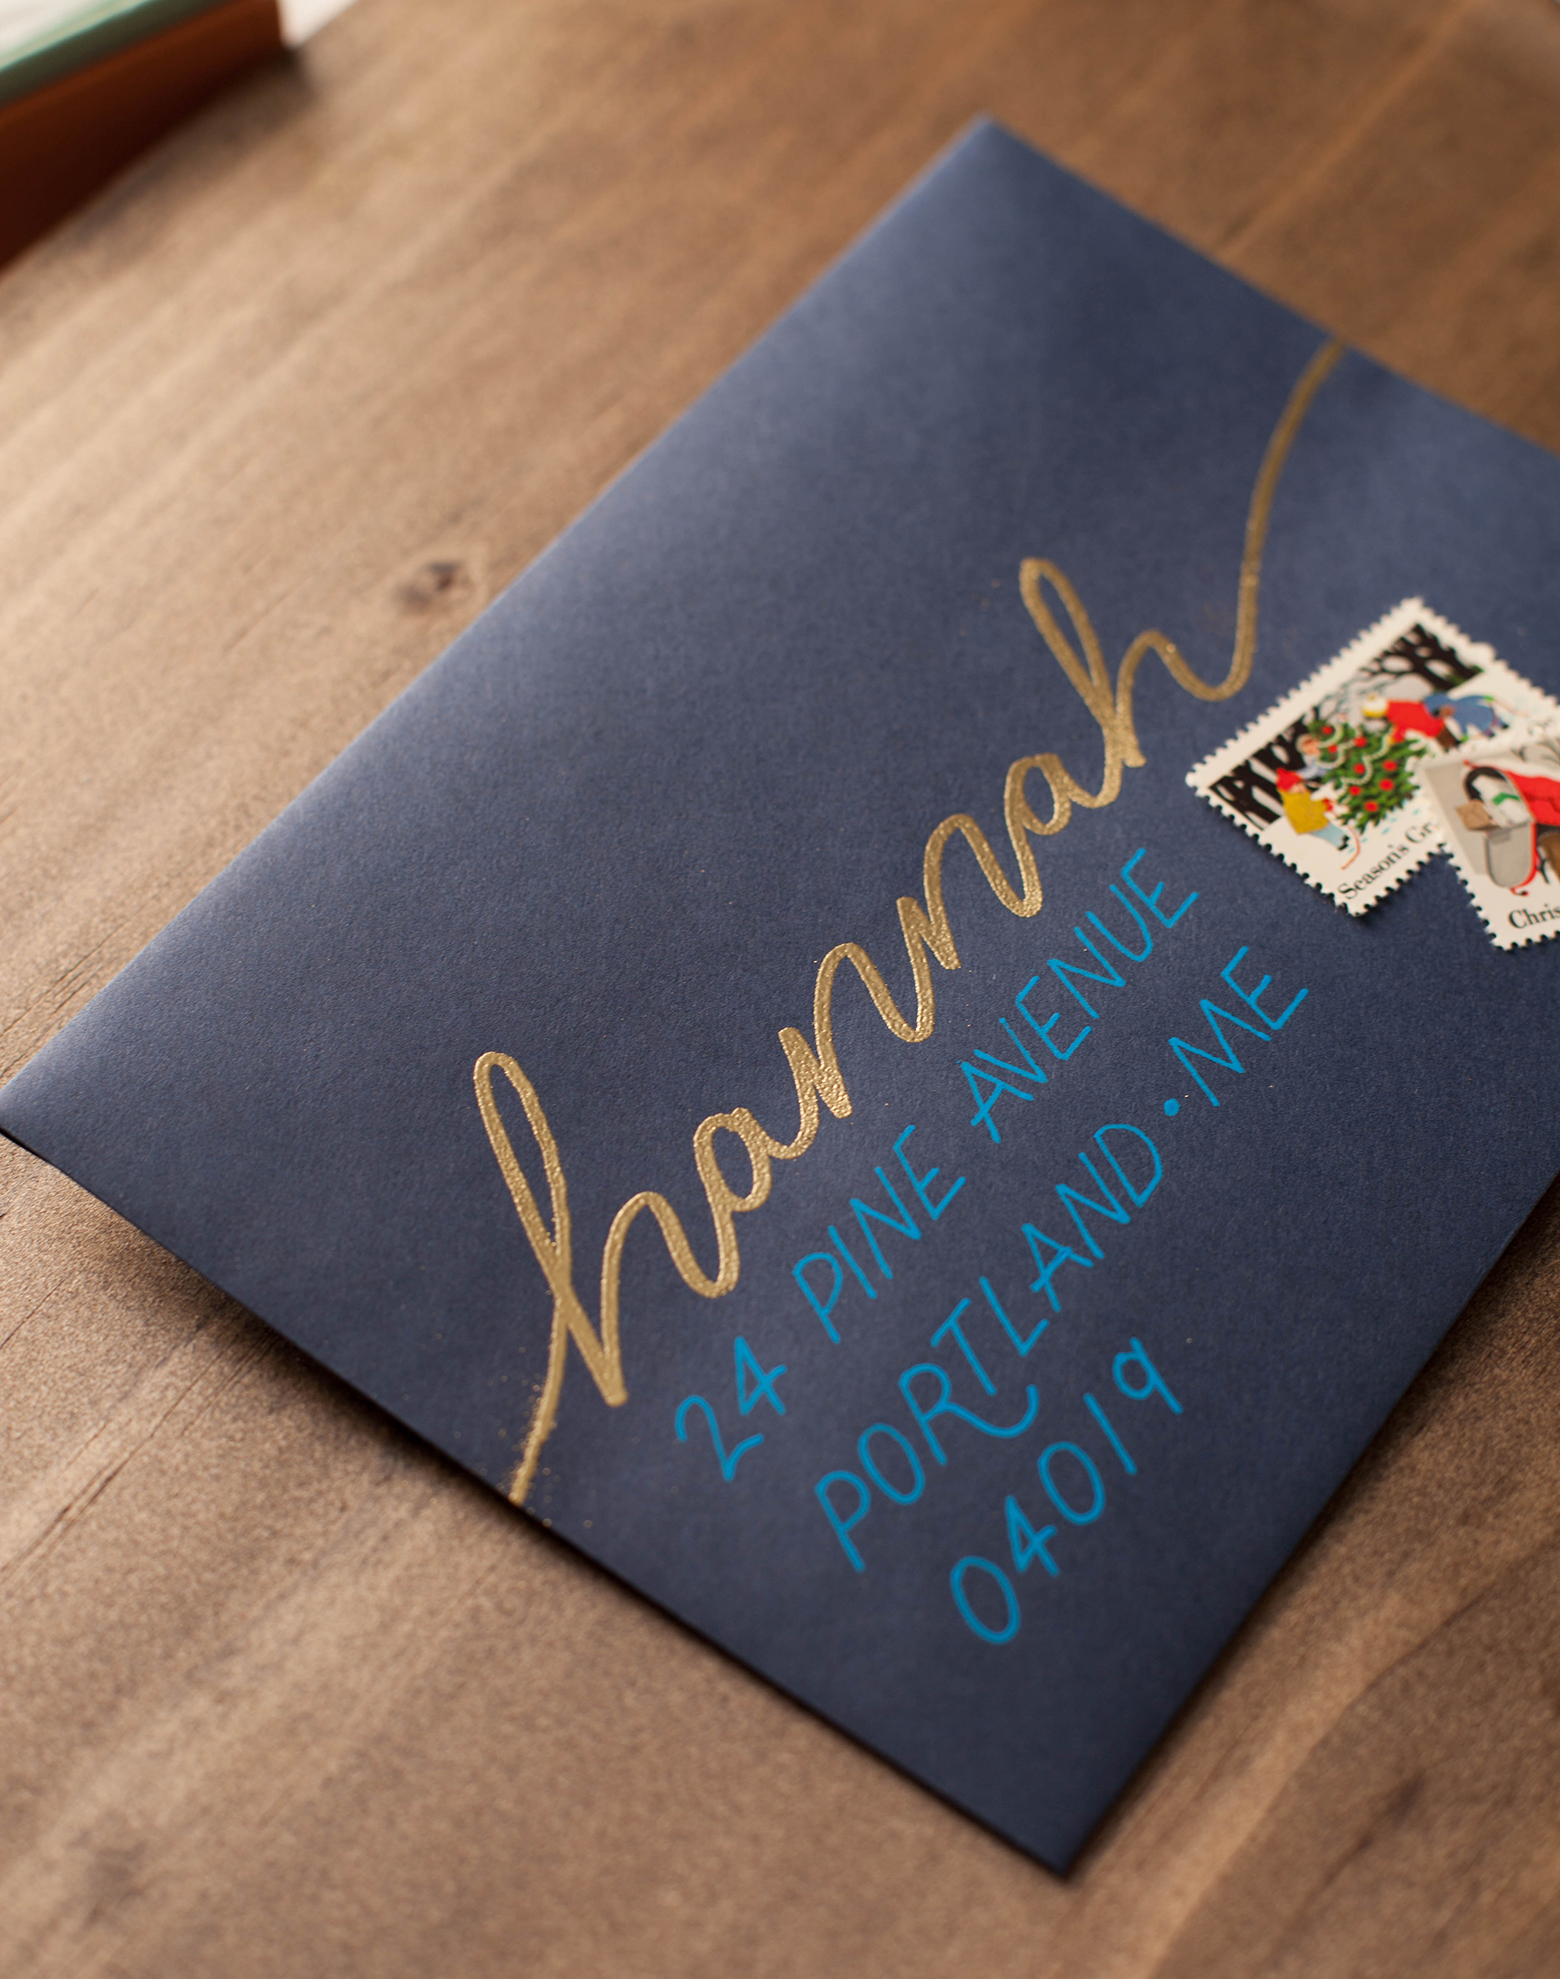
That’s it! You did it! A super simple super fun way to snap up your mail this holiday season, or really any time of the year! I would LOVE to see what you come up with so be sure to tag me on Instagram so I can checkout your creative adventures!